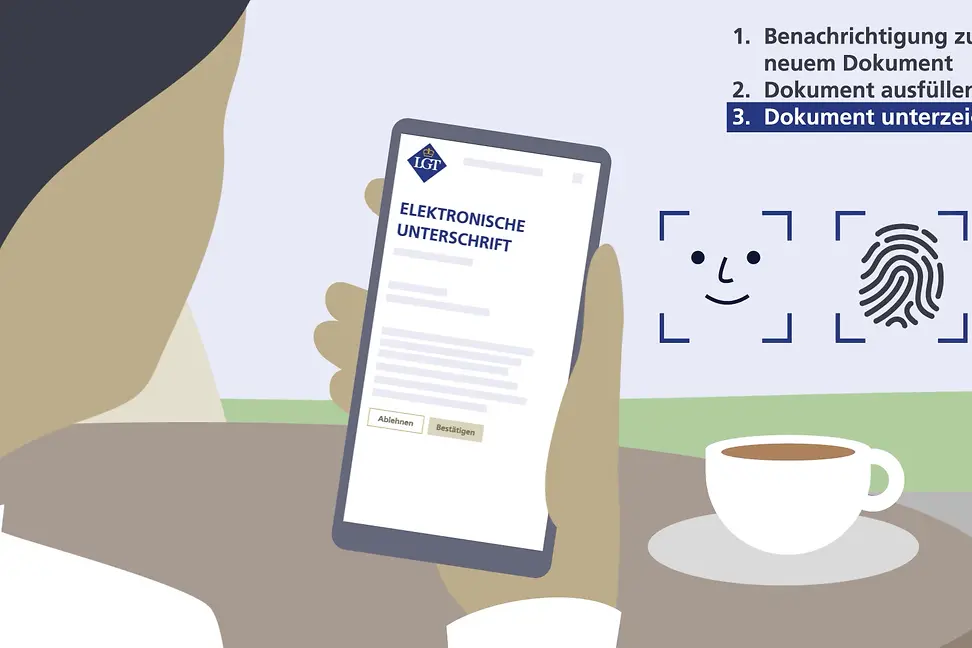
With eSignature you can fill out and sign documents quickly and easily in LGT SmartBanking. Find out how eSignature works in the video. Text instructions are additionally available below the video.
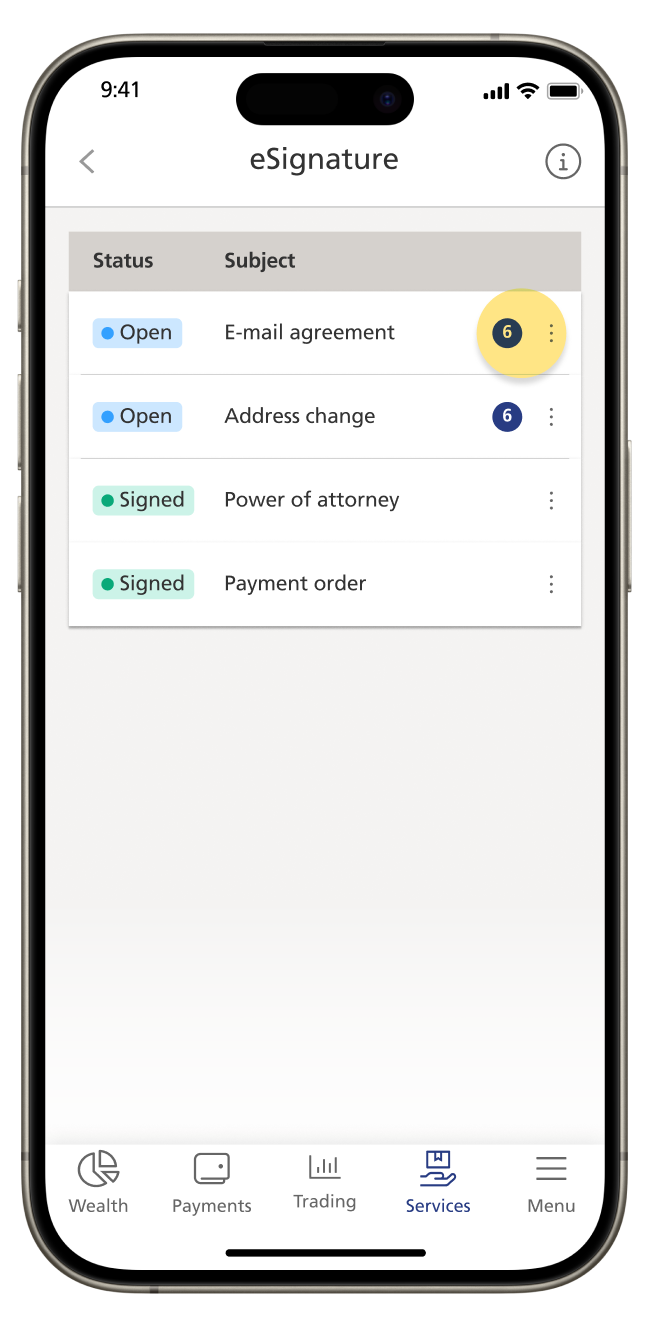
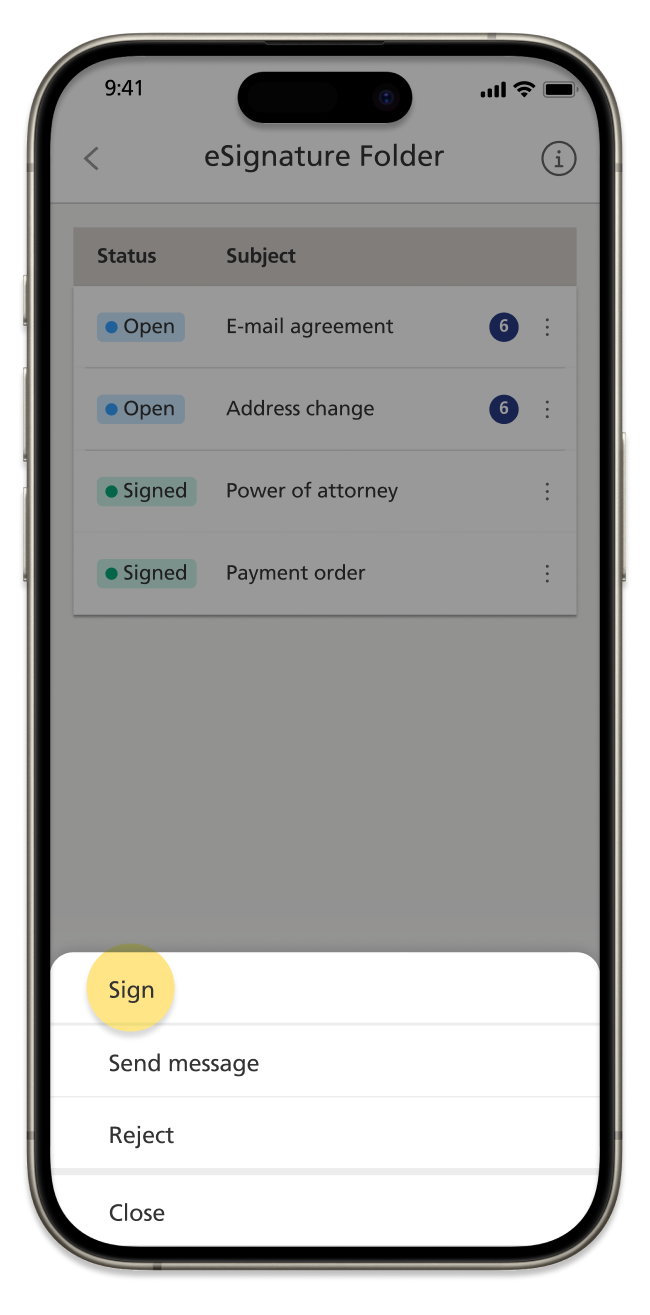
You can find an overview of your documents for electronic signature under "Services". Select the three dots to see which options you have for each document. Only for the documents with the status open is an action from you required.
For electronically signing a document the document is either displayed in a edit mode or review and sign mode if everything is already filled out. You can switch from the review and sign mode to the edit mode for adjustments. Please note that no further changes can be made to the document after signing it. During the authentication process to electronically sign the document you have to accept the Terms and conditions but only the first time or if there were changes since the last use of eSignature. Afterwards the document is automatically sent to your relationship manager for further processing.
If you do not agree with the content of the document or do not want to sign it, you can send it back to your relationship manager. Your relationship manager has the possibility to send you multiple documents in one batch.
Depending on the location, different information is displayed on the dashboard.
Step 1
Step 2
Step 3
Step 4
Step 5
Step 6
Step 7
eSignature
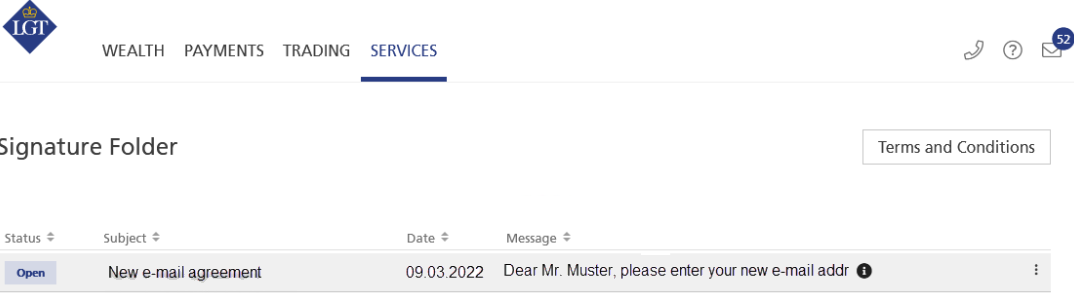
Whenever your relationship manager sends you a document for electronic signature, you will find it under «SERVICES - eSignature». Depending on your personal settings, you will receive a push notification on your smartphone. The «Signature Folder» provides you with an overview of all documents to be signed (Open) and documents that have already been signed (Signed).
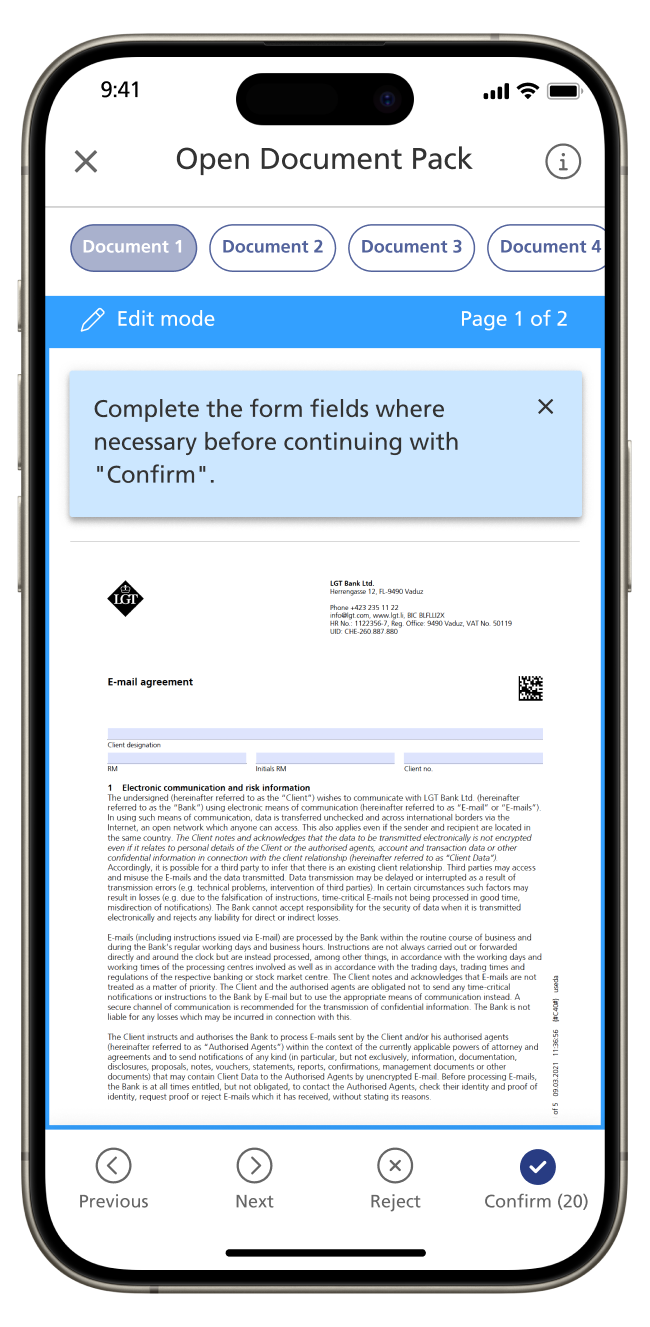
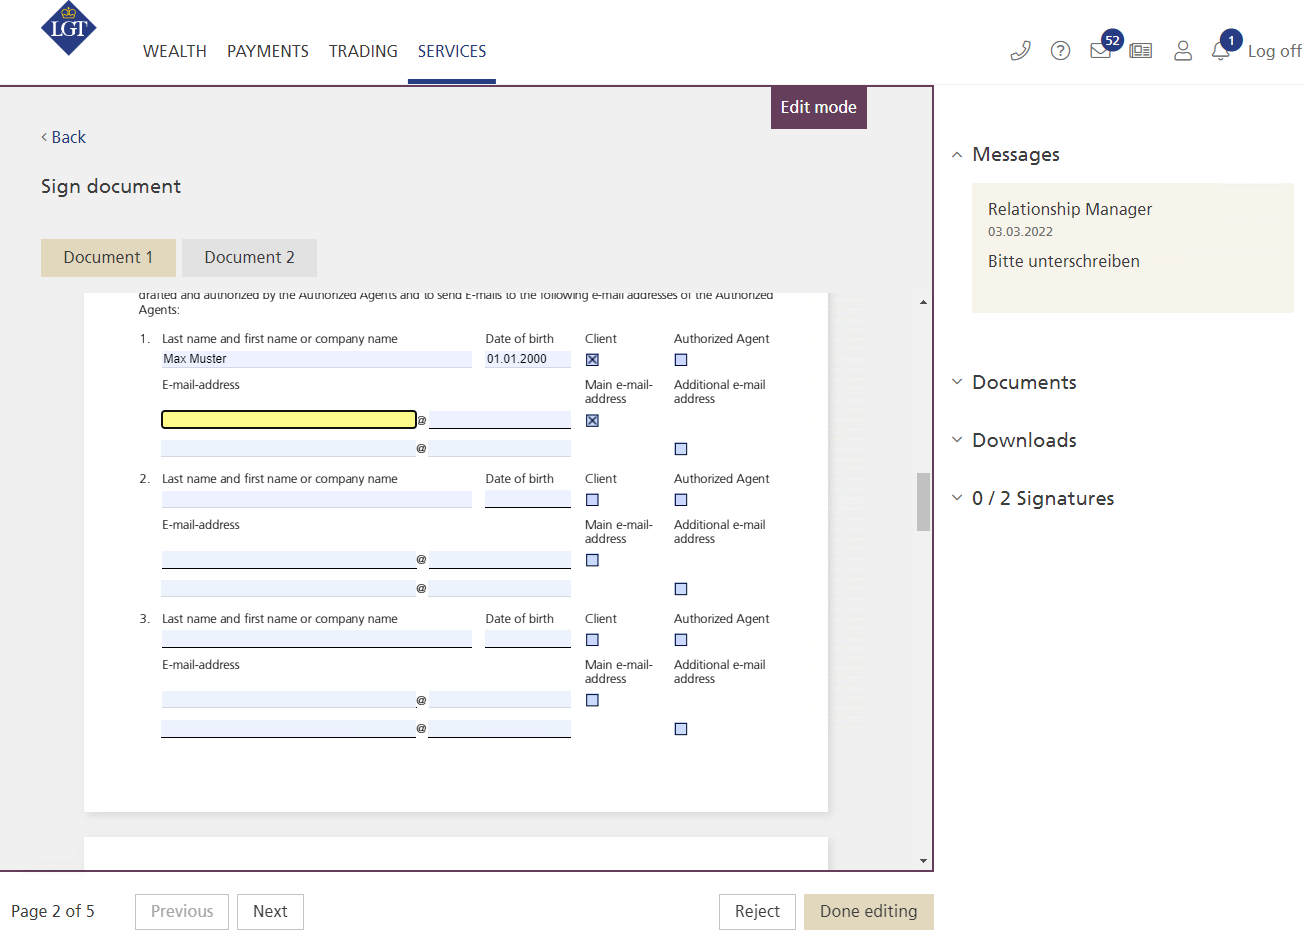
By clicking on a document entry, the document will load in «Edit mode». If you consider all the information to be complete, switch to «Review and sign mode» by clicking «Done editing» in the bottom right corner. If you do not agree with the content of the document or do not want to sign it, you can send it back to your relationship manager by clicking «Reject».
Your relationship manager has the possibility to send you multiple documents in one batch. If multiple documents were sent to you, you can switch between the individual documents using the tabs in the top left corner.
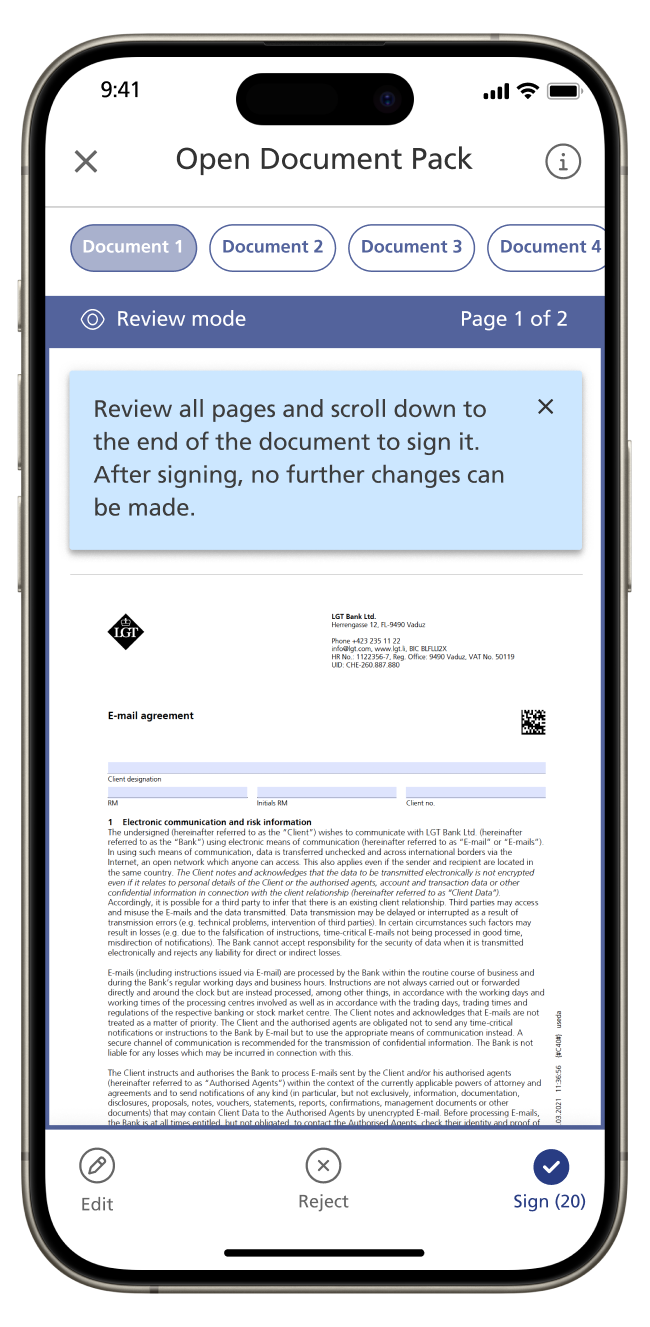
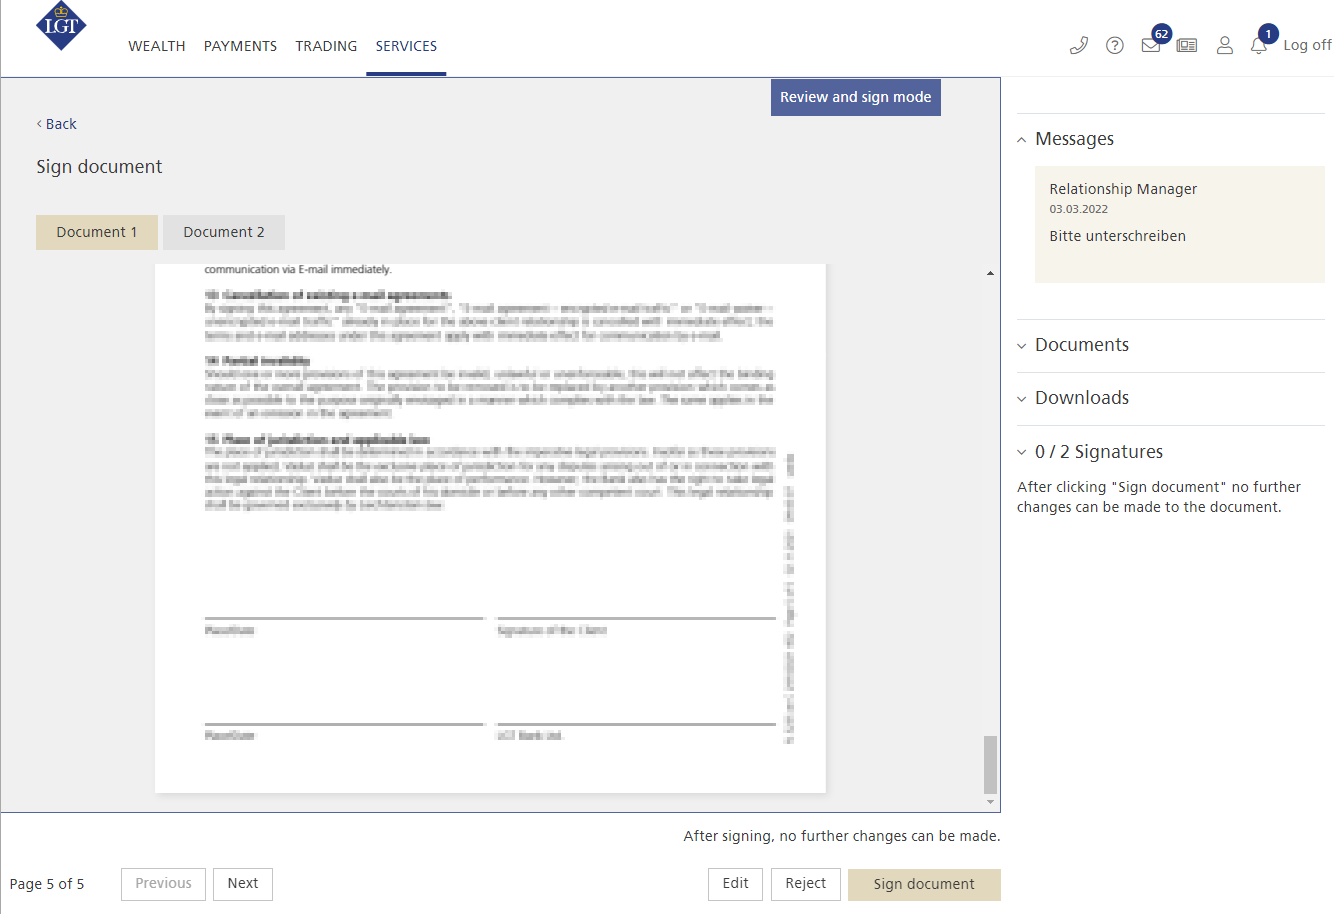
When leaving the «Edit mode», the document will become non-editable in the «Review and sign mode». Please read the entire content of the document carefully. If you want to add further information to the document, you can switch back to the «Edit mode» by clicking on the «Edit» button and make changes to the document. To enable the «Sign document» button, please scroll down to the end of the document. If you agree to the content of the document, please click on «Sign document». Please note that no further changes can be made to the document afterwards.
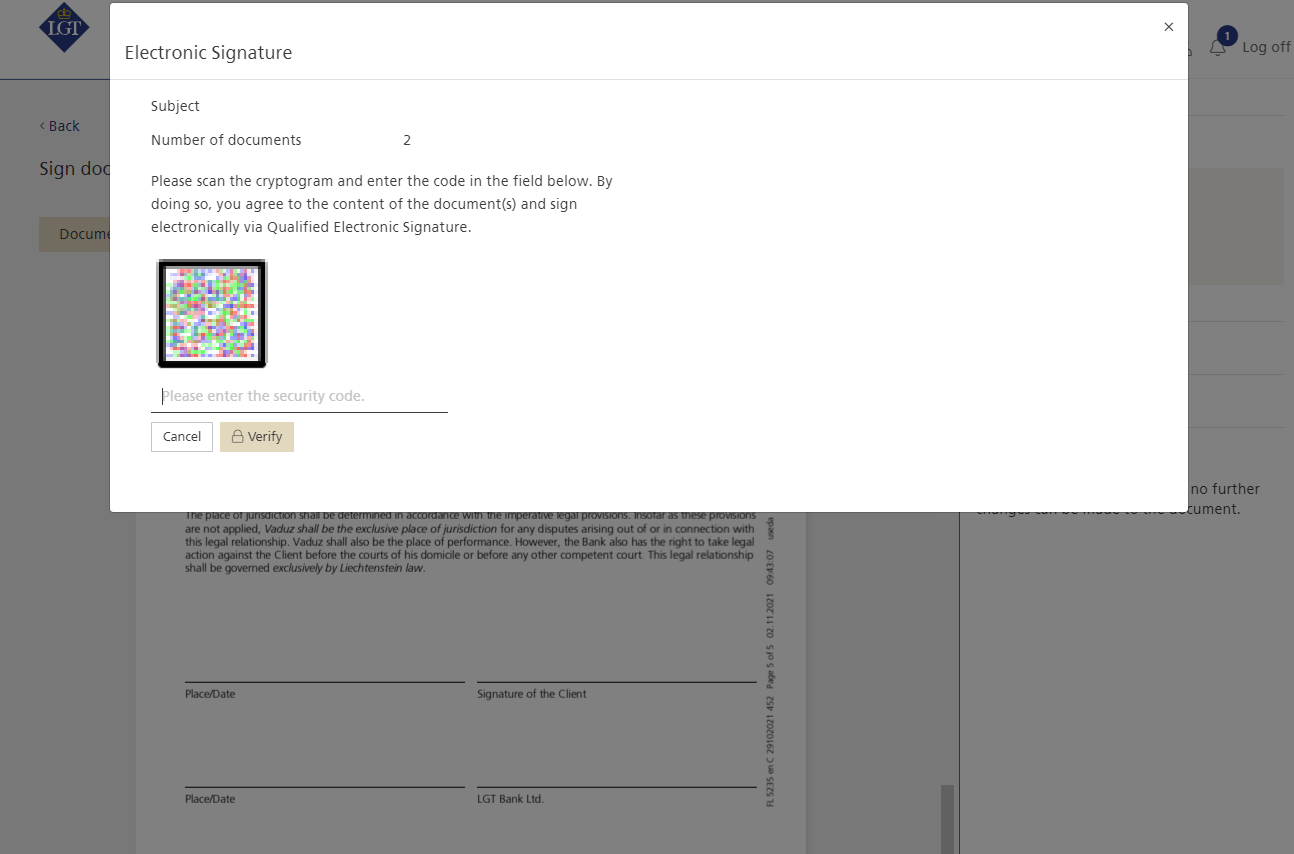
When clicking on «Sign document», you will be prompted to authenticate yourself using your preferred authentication method (fingerprint, facial recognition or cronto scanner). The screenshot shows the process using the cronto scanner as an example.
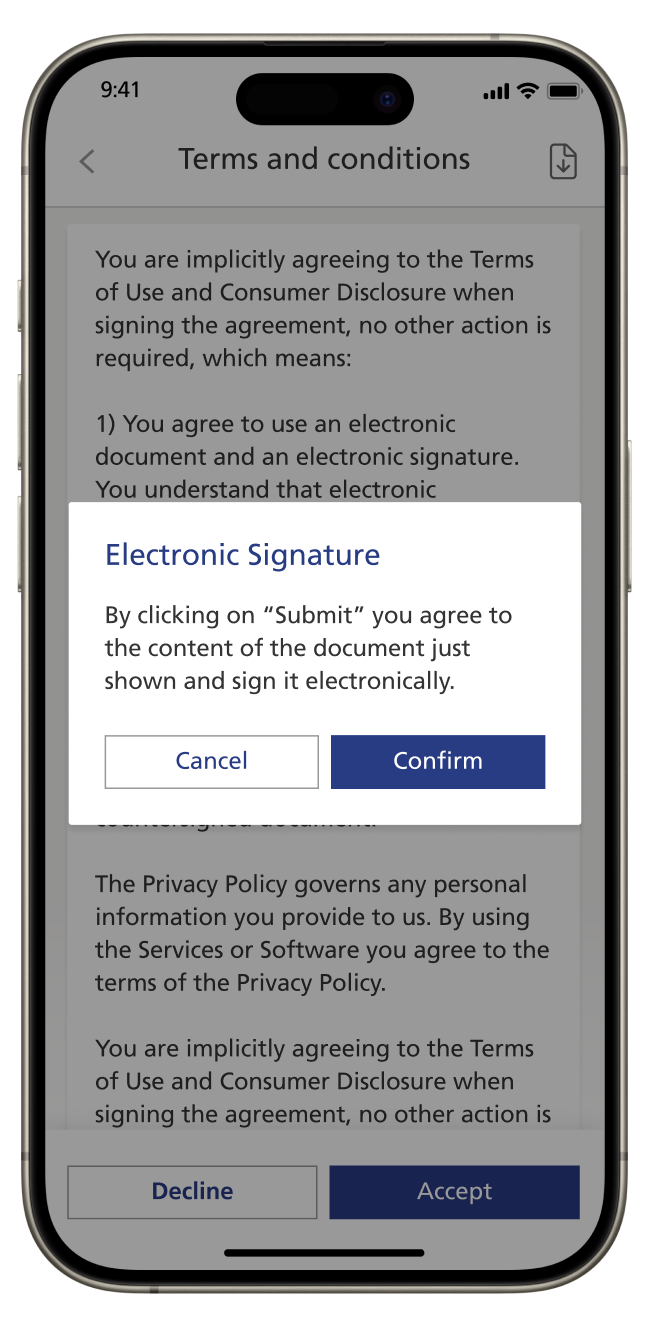
If you are using eSignature for the first time, you will be asked to accept the Terms and Conditions associated with eSignature. Thereafter, Terms & Conditions only need to be accepted again if there was a change since the last use of eSignature.
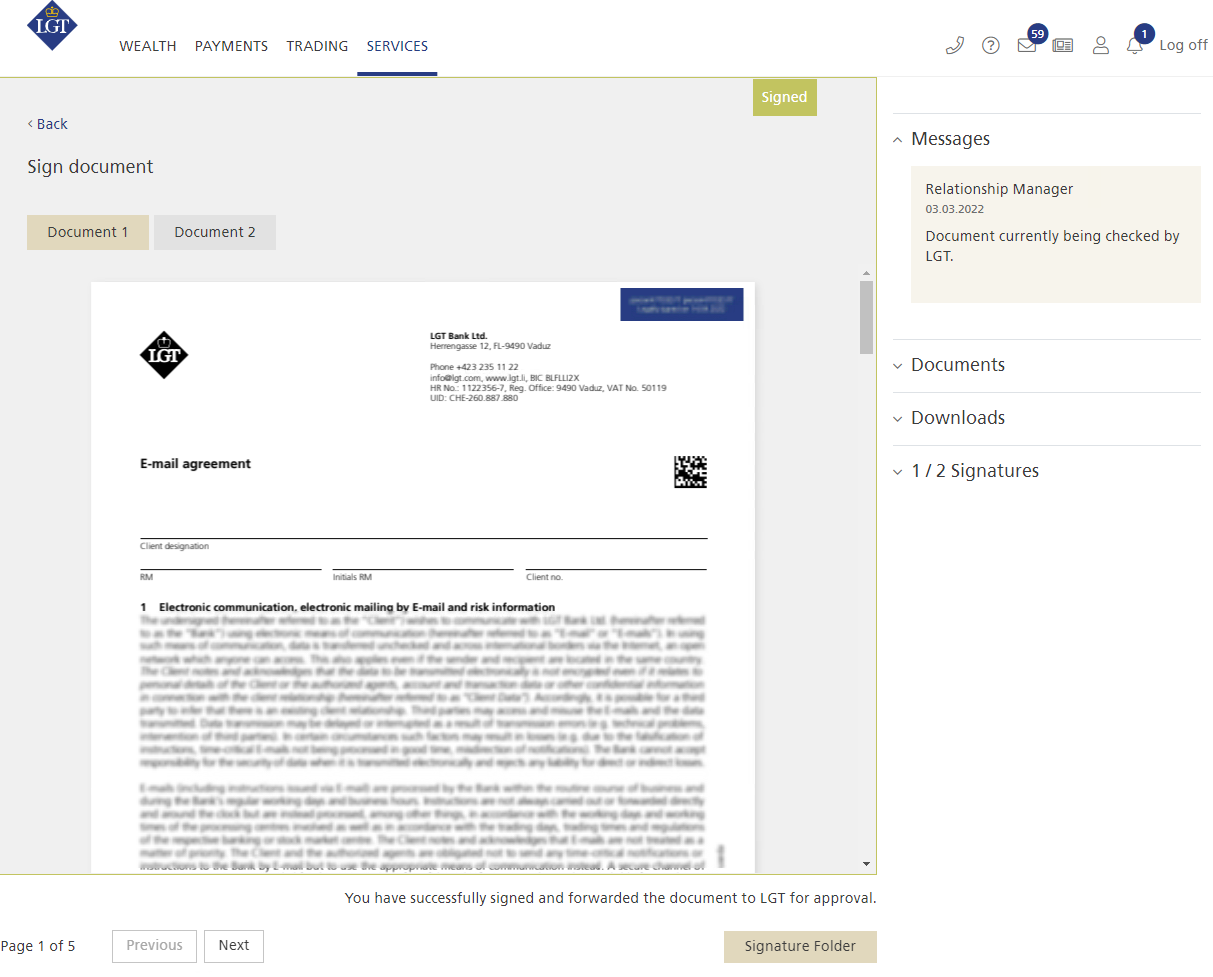
The signed document will now be displayed. For each eSignature added to the document, a blue «stamp» in the upper right corner of the document is added. Click on «Signature Folder» to return to the overview.
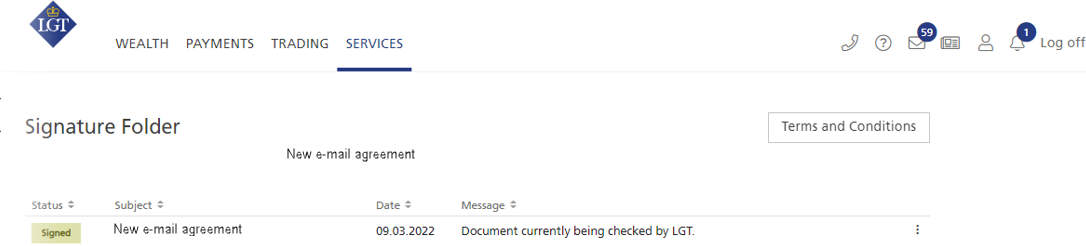
The document is now marked as «Signed» in the «Signature Folder». The document is automatically sent to your relationship manager for further processing.
Do you need assistance?
Contact us if you didn't find the answer to your question in the online help or something isn't working as it should. Our online banking support team is available weekdays from 8 a.m. to 6 p.m. and will be happy to help
LGT SmartBanking Support
Counter opening hours
Monday to Friday 8 a.m. to 6 p.m. CET